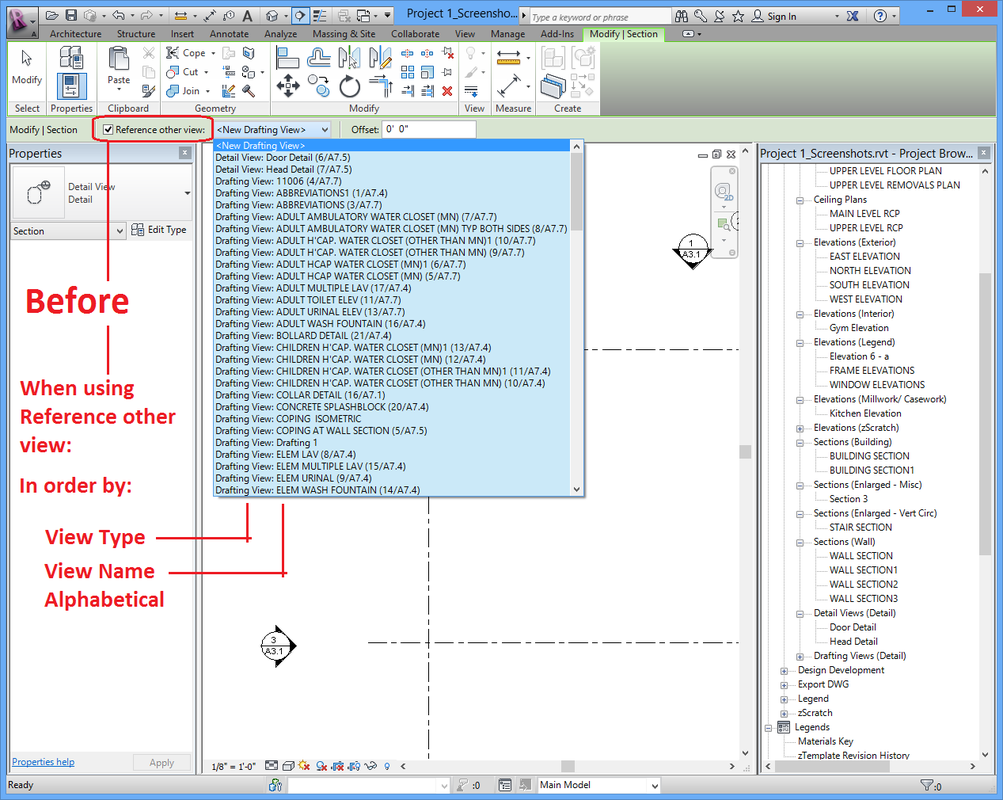
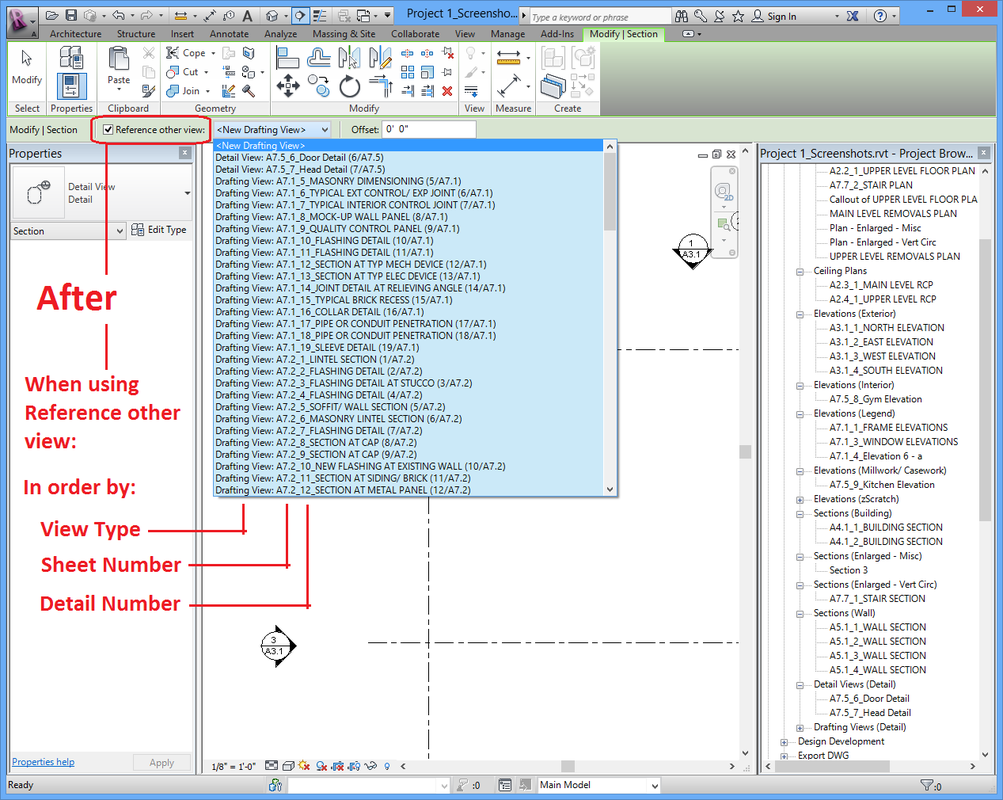
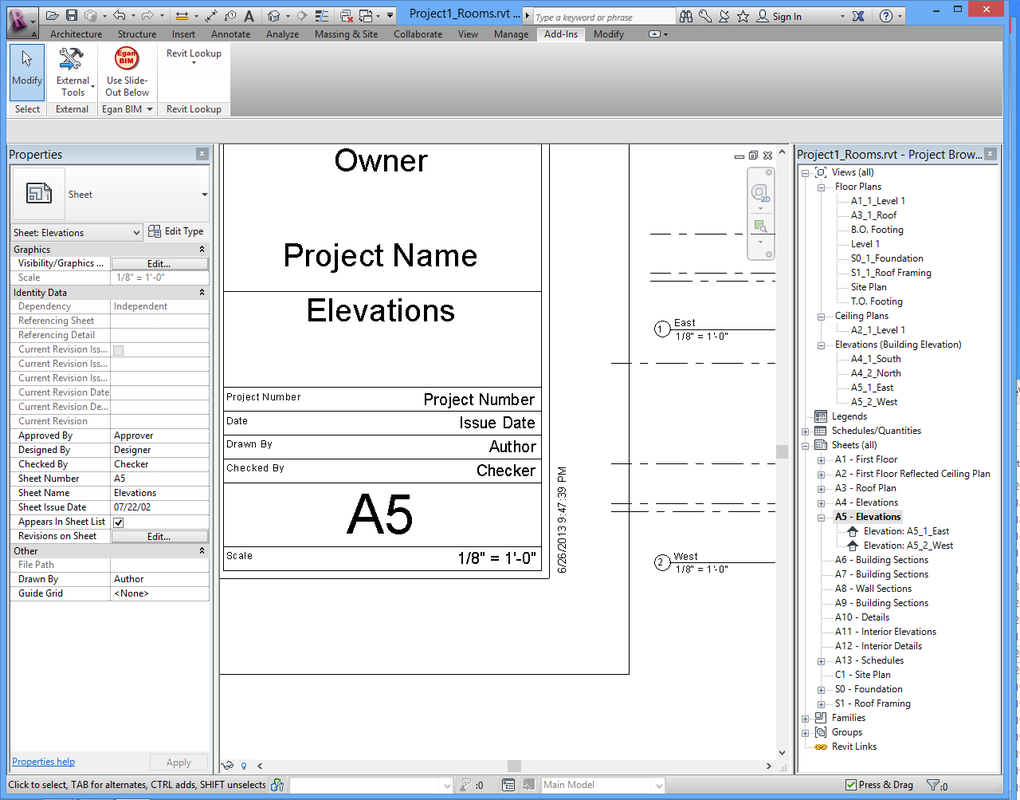
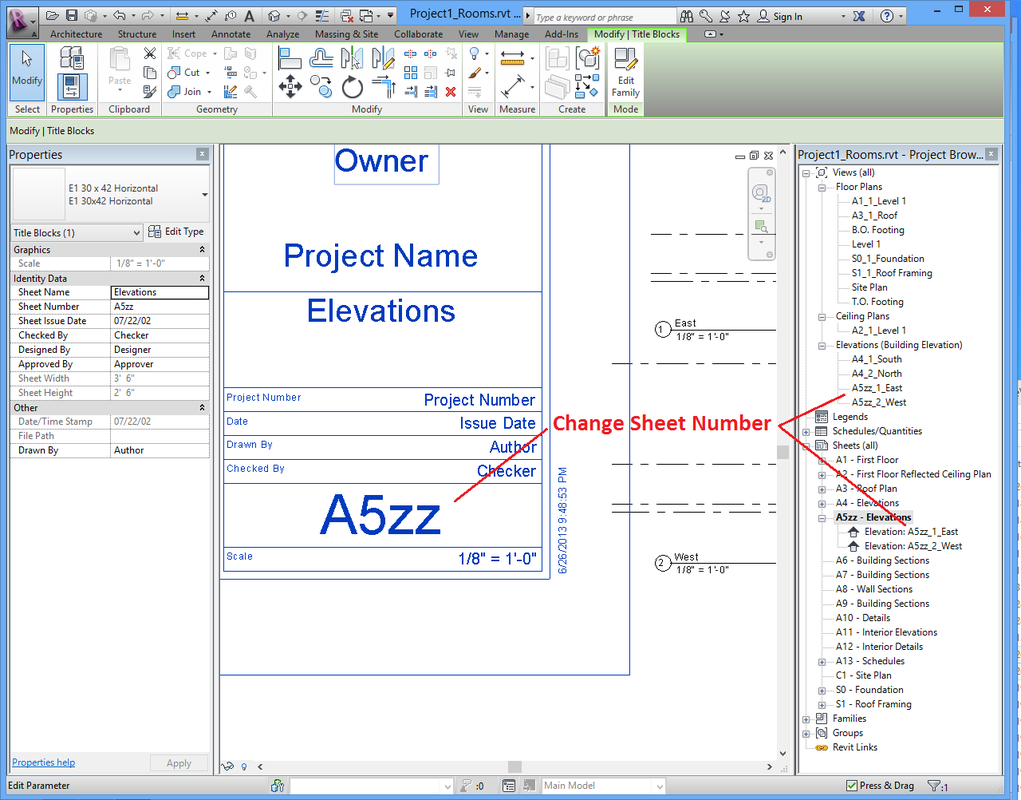
Using Egan View Name By Sheet Number Application
Once you install the app, it works in the background with very little need for input from the user. However, you may need to change some of the default settings to suit your company.
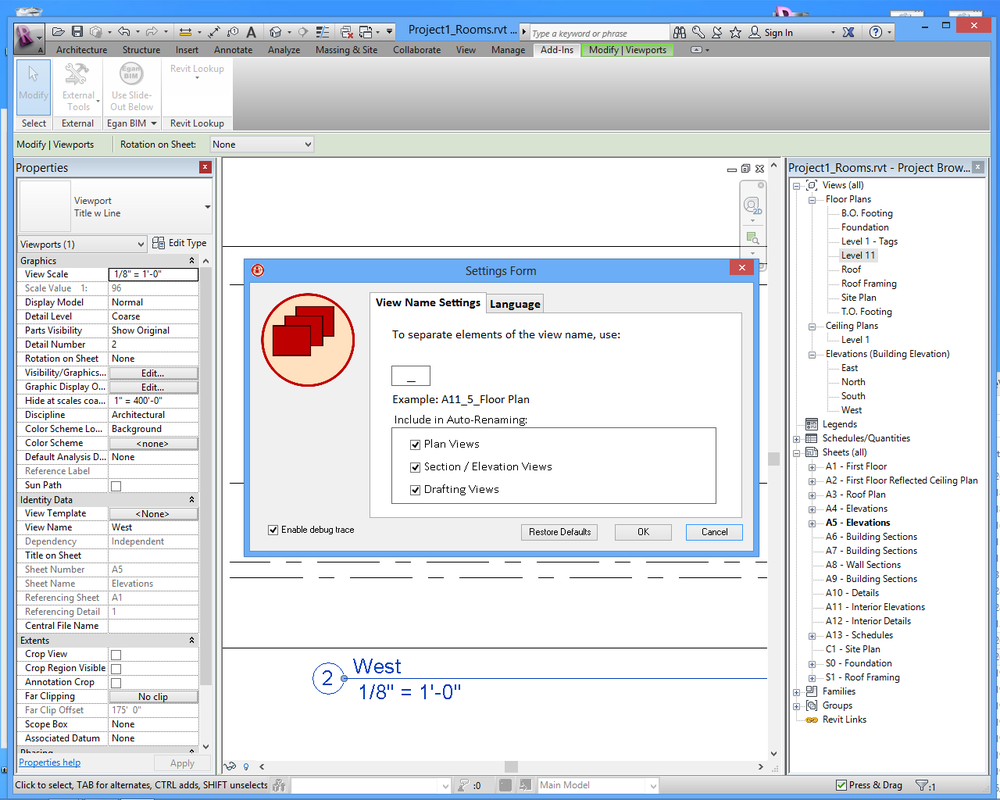
In Revit, go to the “Add-ins” tab > and the “Egan BIM Resources” panel. Select the slide-out menu at the bottom of the panel to display the “View Name” menu. Select “Settings” to display the Settings Form. The two main settings are View Name Separator Character and which view types to include in the renaming process.
You can select any single or combination of characters, but you should try to make it unique. If you use the separator character in any view names, you will get inconsistent results when using the batch undo process or when removing views from sheets.
The remaining settings allow you to choose which overall grouping of views you want to include in the auto-renaming. Changes to these settings take effect immediately, so, if at any time you need to disable the app, you can click off all groups, but bear in mind that the app will remain disabled until you turn the groups back on.
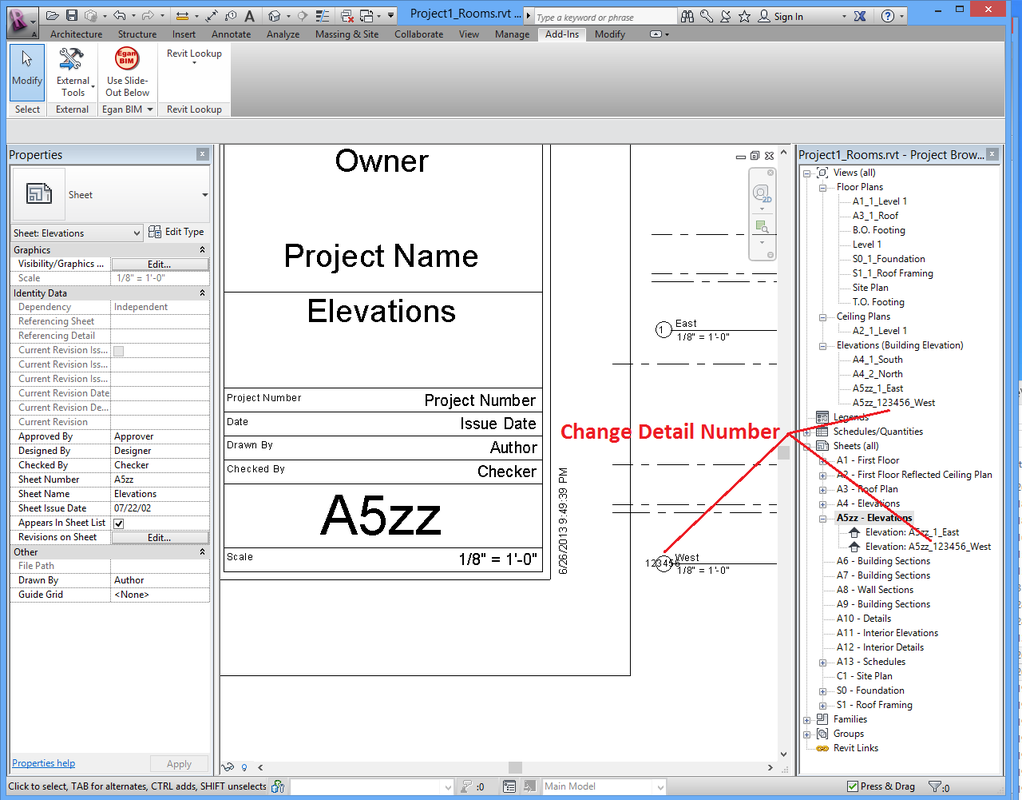
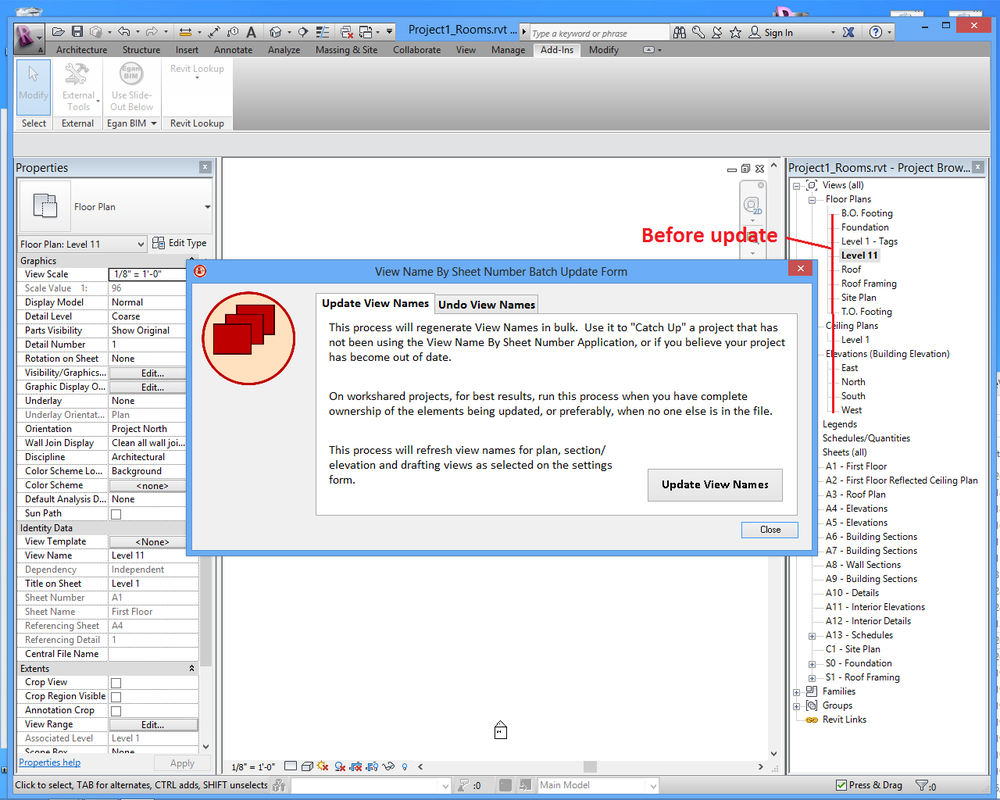
Once you have established your settings, return to the menu and select “Batch Update Names For All Views” to open the Batch Update Form. Pay attention to the notes about workshared files, element ownership and permissions. Click on the button, “Update View Names” to update all view names in your project according to the settings you established on the settings form.
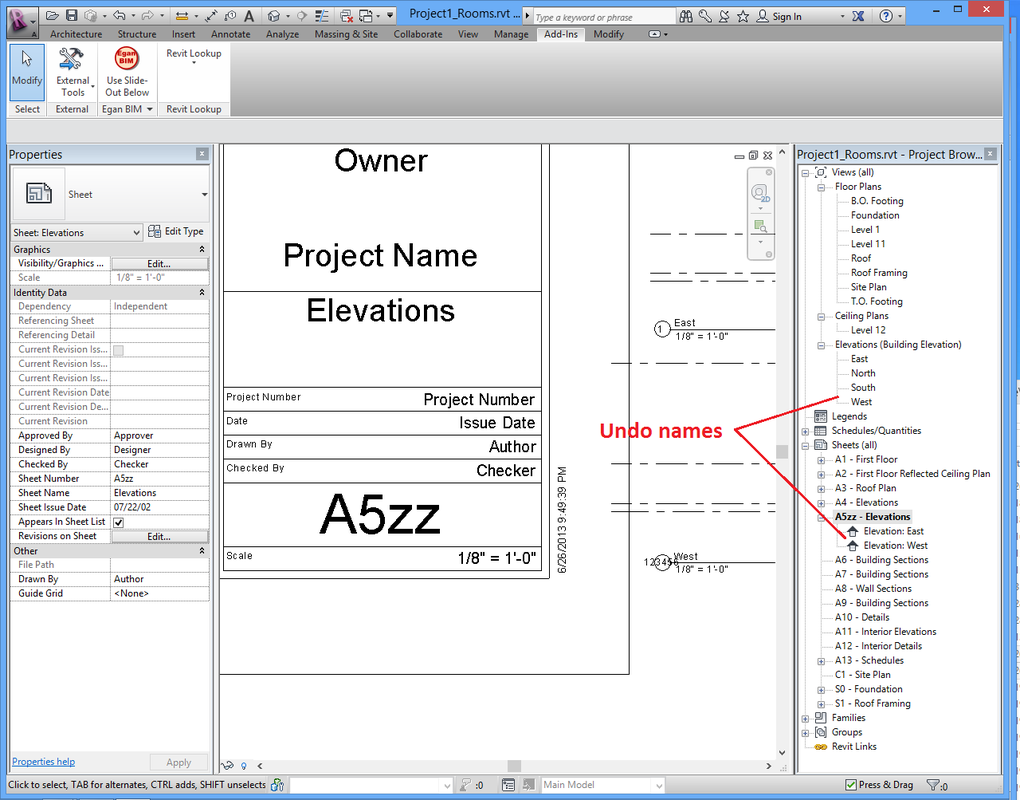
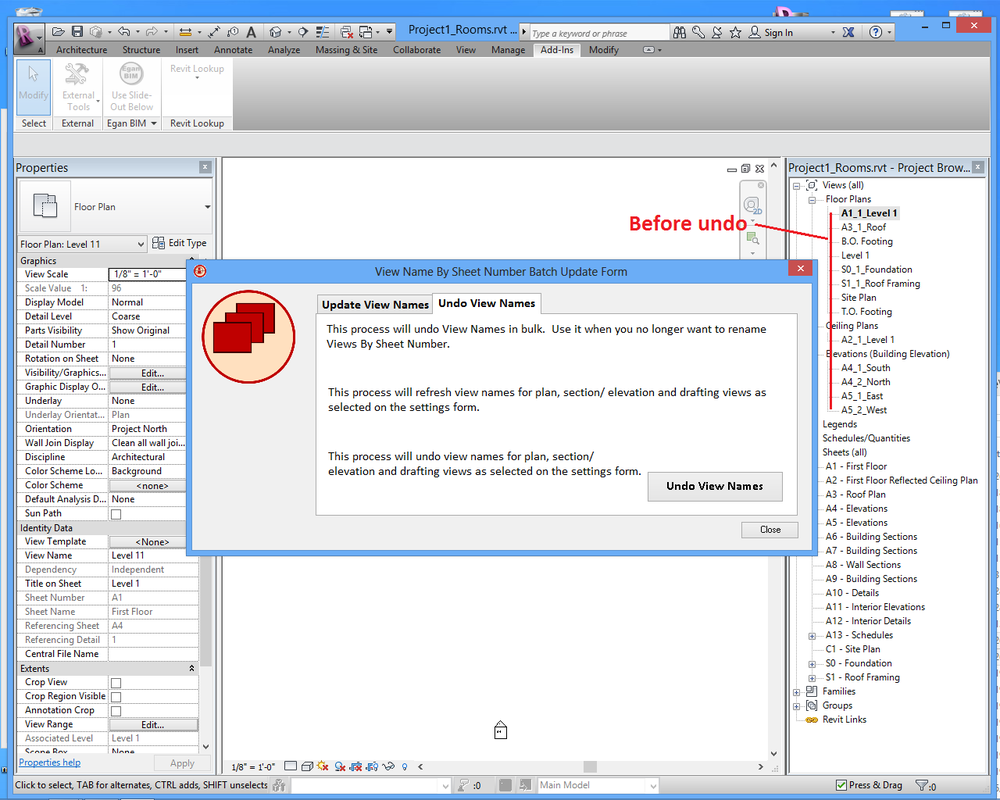
Also on the Batch Update Form is the “Undo View Names” tab, which allows you to undo all view names if you decide not to use the app permanently.
Network deployment
Please see the Network Deployment page for information on the network deployment features of Egan BIM Resources apps.
Screenshots
Installation and Uninstallation
The installer that ran when you downloaded this app has already installed the plug-in. You will need to restart Revit to activate the app.
To uninstall this app, exit Revit if you are currently running it and uninstall it from 'Control Panel\Programs\Programs and Features,' just as you would uninstall any other application from your system.
To uninstall this app, exit Revit if you are currently running it and uninstall it from 'Control Panel\Programs\Programs and Features,' just as you would uninstall any other application from your system.
Additional Information
This app adds a few invisible shared parameters into your project the first time you open your project with this app enabled. The app uses these parameters to assist in the view naming process and to store the original view name.
When you make the decision to use this app permanently, you can load the shared parameters into your template by opening and saving your template while the app is enabled. Then the app will not need to load the shared parameters into every new project.
This app is licensed by application, not by version. Your license will allow you to use any year’s version on your computer at any time, so the use of this app will not affect your Revit upgrade schedule.
After your trial of this app, if you decide that this naming system is not for you, the app will undo the view naming, returning all views to the original view name.
Known Issues
This app responds to events in the Revit database, and must respond to all eligible events to remain up-to-date. Therefore, to get the most value from it, each computer working on a given project must have the app installed.
On workshared projects, when opening a project for the first time, the app may have difficulty adding the necessary shared parameters due to file permissions issues, which may appear as odd error messages like "Central File Unavailable." If this happens, make sure everyone else is out of the project, open the central file, save, exit and reopen your local file. The shared parameters should now be loaded and ready to use.
When restoring the original view name, the app may not be completely accurate with original names that end in a number (the Revit default naming method) - for example, “Section 2” may be renamed “Section 21.”
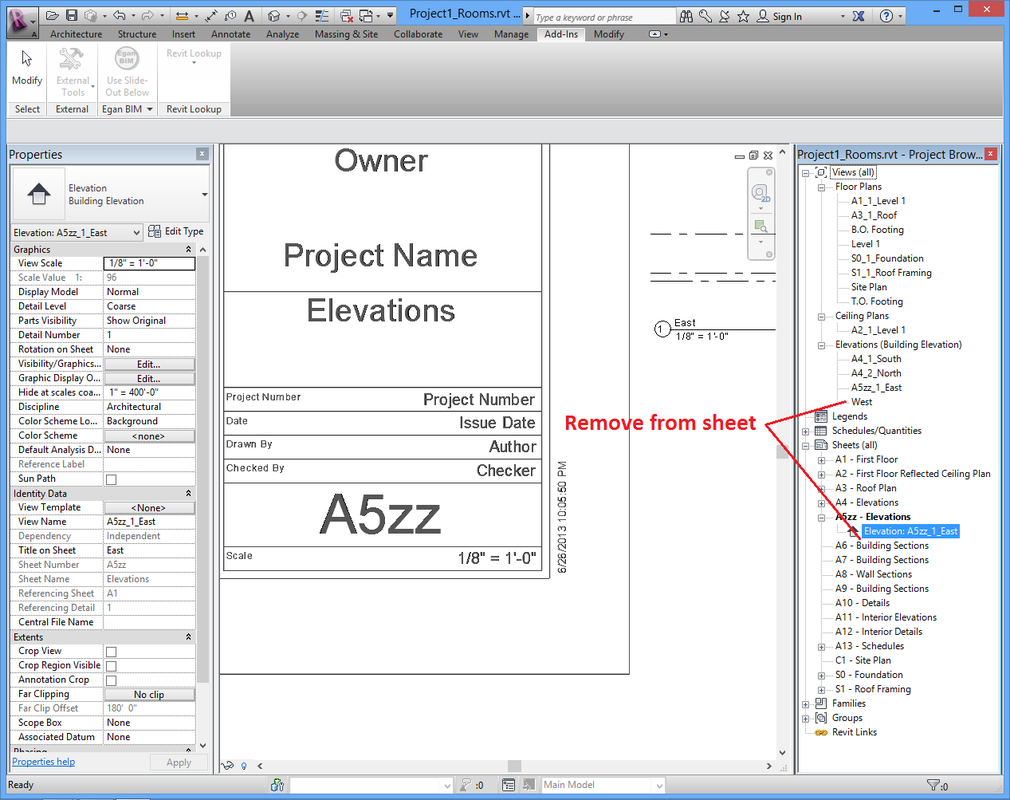
Also, when removing views from sheets, renaming to the original name, like Section 1, may not be appropriate. The app has been modified to allow views to be renamed to their current “Title on Sheet” value, making renamed views easier to find in the Project Browser.


